
Why We Burn-In Every IP65 Garden Heater
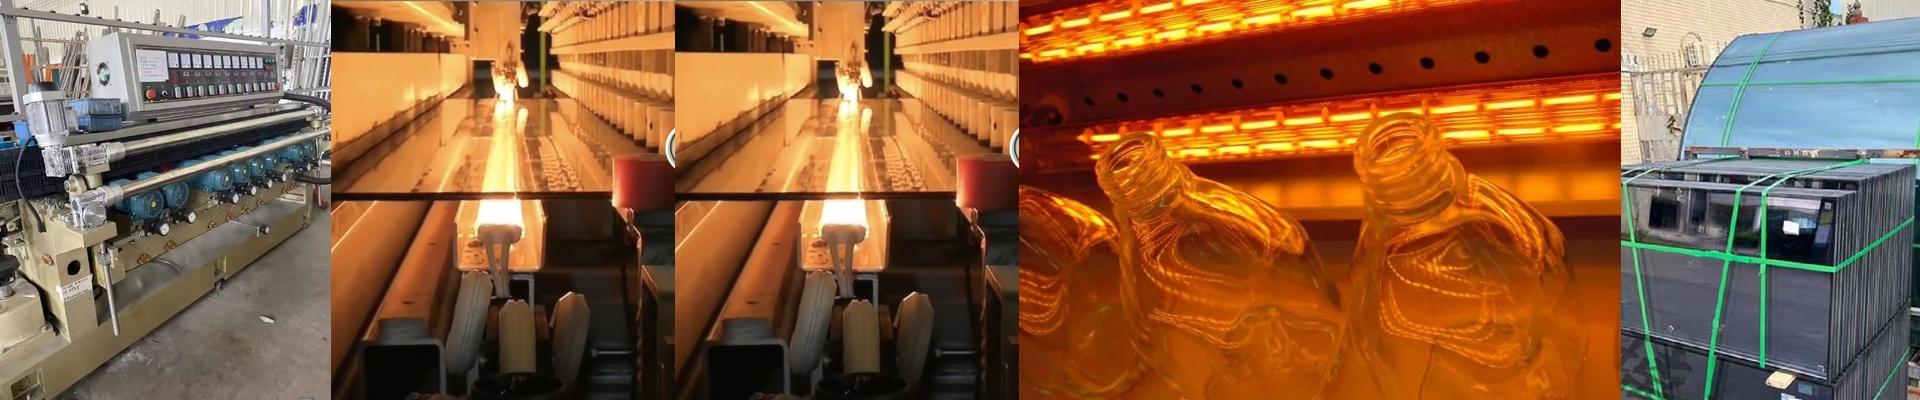
We don’t build IP65 garden heaters to impress a spreadsheet. We build them to take a beating from real weather. That’s why every single unit gets put through a tough damp-heat aging test. Here’s the idea: we force the early failures to happen in our lab, not on your job site. This testing finds the weak seals, the sneaky moisture paths, and the spots that get stressed by heat long before the heater ever leaves our hands.
Power, Voltage, and Output — In Plain Terms
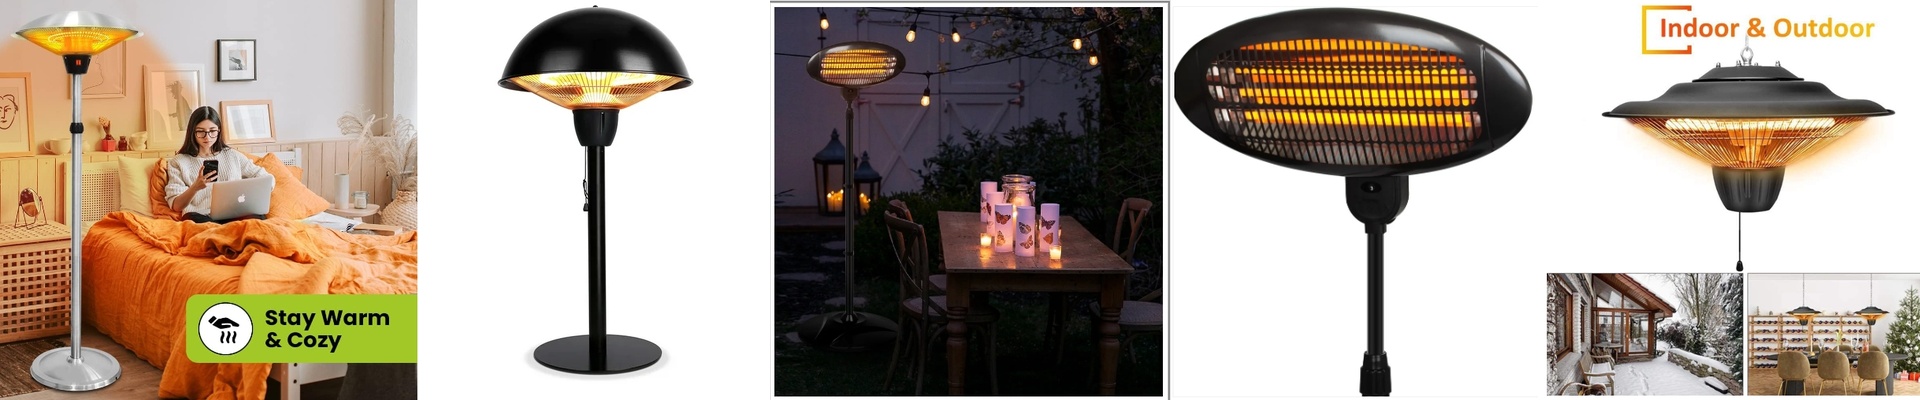
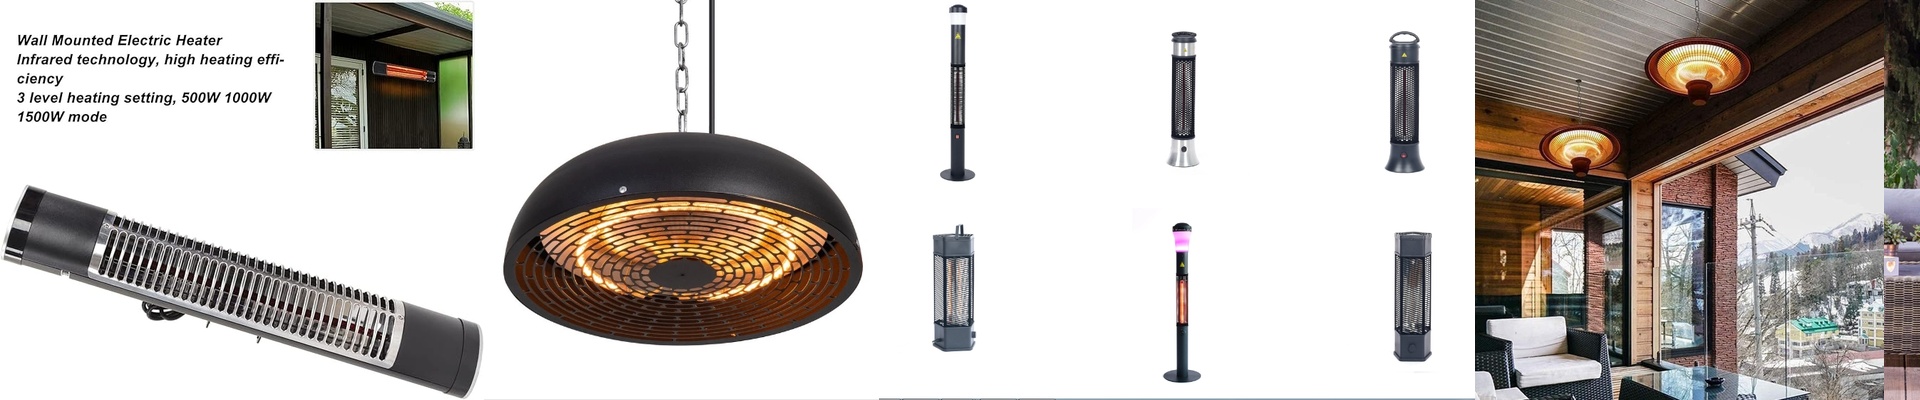
Our heaters are shortwave infrared systems, and we size them to match the space. Most run on 220–240V, with 400V options when the site calls for it. A 400V, 2500W setup is intense—compact, fast, and focused. You get heat that arrives quickly, but that also means the control gear and wiring have to be up to the job. It’s powerful. It’s focused. And yes, the enclosure gets warm. So plan for good ventilation and use terminals that are properly rated.
The Core: Halogen, Quartz, and the R7s Connection
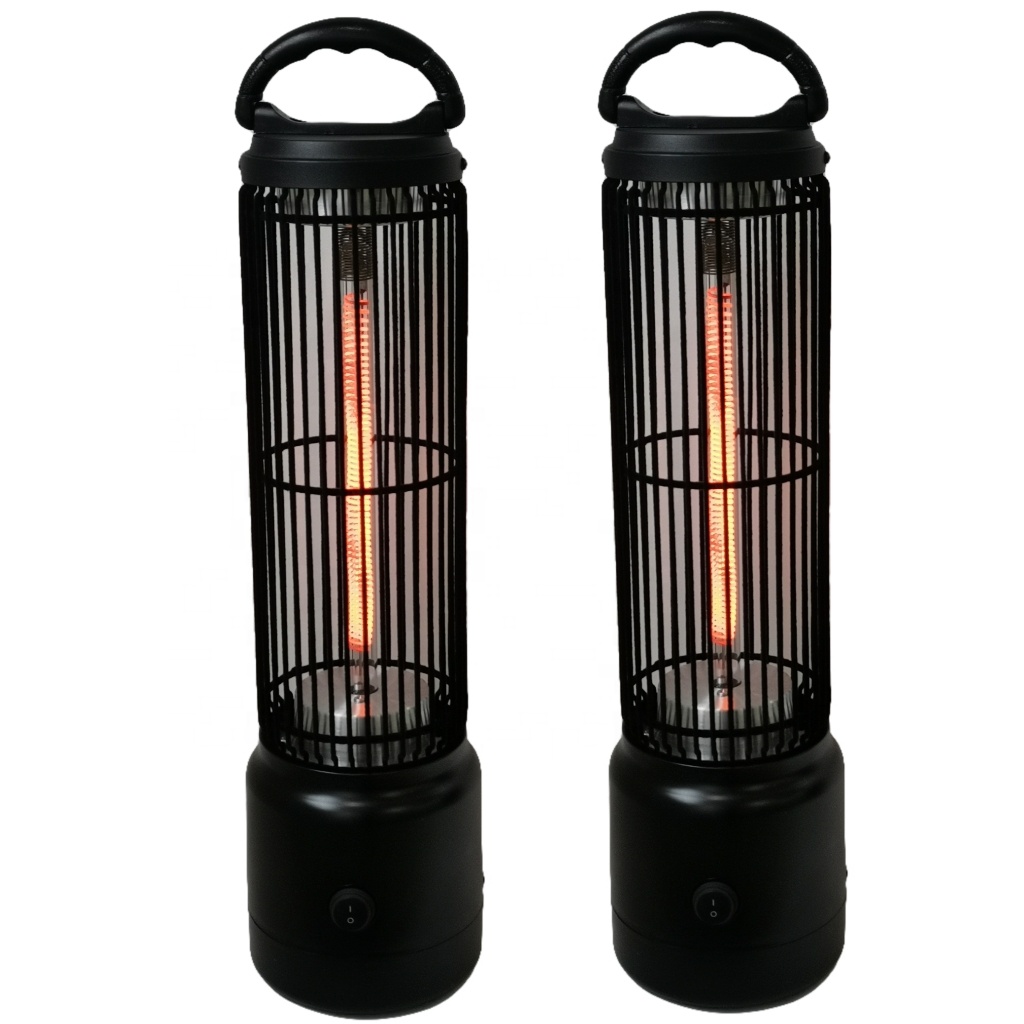
Inside, you’ll find a halogen-filled quartz tube. It stays steady at high temperatures and delivers consistent infrared heat. Quartz handles the shock of cycling on and off outdoors better than regular glass, which matters when the weather is doing its thing. The halogen fill helps the filament last longer, even with repeated on/off cycles. And the R7s connector? It’s a practical choice. Wiring is quick, it stays secure even with vibration, and it’s built to handle the heat right near the tube ends. IP65 protection comes from gasketed joints and a tough housing, and we double-check the seal after the aging test.
What This Means for You Outdoors
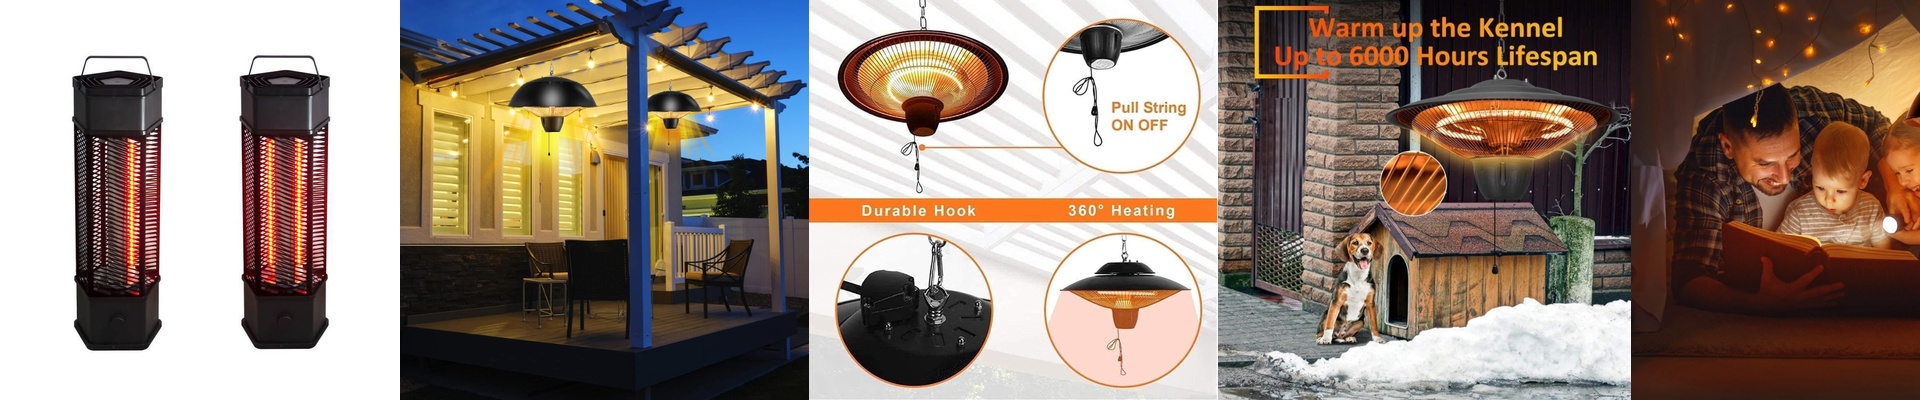
If you’re heating a garden or a covered terrace, you want something that turns on predictably and just keeps going. The IP65 rating means it stands up to rain and dust. The aging test gives us confidence the seals and internal connections hold when humidity and heat team up. The R7s interface keeps installation fast and repeatable, which helps reduce wiring mistakes out in the field. Just keep one thing in mind: manage the heat. Make sure your mounting spot and nearby materials can handle the radiant heat and the warmth coming off the housing. That’s the balance we’re after: a heater that’s tough in the specs, and easy to wire in the real world.